


This one is definitely best to taste blind first. Please do that before reading. Also, try the coffee brewed while reading along :-)
Side note. I am cupping and brewing at a 16:1 ratio.
Looking back…
I still remember being a barista at Tazza Mia in Cincinnati, OH. I had convinced the company's owner to let me put on a tasting for customers who wanted to sign up. They would come later in the evening to the cafe, and we would french-press all of the coffees side-by-side and talk about flavor profiles and where they may have gotten them. At the time, I had more enthusiasm than experience or knowledge regarding coffee.
I had been reading and researching for some time about coffee and had heard about its porous nature… that it tended to absorb flavors from things around it. I then decided that the only reason that our Ethiopian Harrar could have these beautiful notes of blueberries is if they were grown near blueberries… and so on… and so forth. As you may imagine, I had come up with some creative, flat-out wrong, and ill-informed notions about why each of our coffees may have come out tasting as they did.
It is cringe-worthy, to be sure. In my arrogance, I was just boldface lying to these customers after I had convinced myself of the validity of what I had thought. I needed to learn a ton, and I needed to learn how much I needed to learn.
When I decided to move from Tazza Mia in Cincinnati, OH, to Nossa Familia Coffee in Portland, OR, there was a lot I needed to learn. While at Tazza Mia, I (thankfully) grew from that misinformed barista into a coffee roaster, starting to understand things considerably better. I had also saved up money and purchased my first coffee roasting machine (a 1 kg coffee roaster from the now defunct Victory Roasters). After arriving in Portland, the arrival of that machine allowed me to put some of the theories I had been working on to the test and resulted in the writing of “Modulating the Flavor Profile of Coffee: One Roaster’s Manifesto.”
Aside from further developing my roasting knowledge, one of the things I would have to learn was a brand new type of roaster that I had never even really heard of before. Augusto of Nossa Familia Coffee is an engineer by training and was enamored by the engineering on the Loring s35. In addition to its amazing engineering, its energy efficiency and ecological mindedness were paramount to his decision. So he was able to buy a Loring s35 used from Flying Goat Coffee in Santa Rosa, CA. This was the 6th roaster to have been produced by the Loring team, and it was unlike anything I had ever seen or read about before.
I called Loring Smart Roast and ended up talking to Scott Robinson. Scott was the first engineer on the Loring team and is still working with Loring. Anyone who has ever had the chance to speak with Scott would know how kind, knowledgable, and patient he is with us roaster folk. Anyway, Scott told me he was not a roaster and would recommend that I speak to other Loring roasters to get their take on how to use it. I don’t remember following up on his advice, whether due to my arrogance, poor follow through, or absolute lack of time management.
After moving to Portland, I helped the team at Nossa finish the installation and fire-up of the Loring. We then moved on to test roasting. At the time, we didn’t have a considerable volume, so we were able to start with 30 lb batches on the machine. After some time testing at 30 lbs, we made our way to roasting with larger and larger batches… usually topping out at 50-60 lbs depending on the coffee. By April of 2012, I had taken my experience on the Ambex and formulated my plan for how we would roast on the Loring. This is the “old school” approach that I roasted with here. One difference worth noting is that the Loring we had at Nossa started with a 6 mm thermocouple in the faceplate (the old design)… we swapped this out for a new thinner thermocouple later down the line. This thicker thermocouple meant that I was seeing a considerable delay in the readings due to the diameter of the probe as well as its placement (considerably more airflow interference).
The Ambex Approach (dun dun duh…. 🎶)
Something I read had led me to take a somewhat different approach to roast than I would find recognizable now. On the Ambex (I know now), I had almost no airflow through the machine and suffered tremendously from back pressure. That had a lot to do with the machine itself, as well as a lot to do with the way the ventilation was set up… (this is a massive story for another day). This meant that I had a more challenging time slowing down the coffee roaster at the end of the roast. This was ironic since it took the thing forever to get going in the first place and resulted in much longer roasting than I would have liked.
Anyhow, I had read online where some people were pushing the roaster hard at the beginning of the roast and then, to slow themselves down, would kill the heat for a little while in the middle of the roast so they could approach development time with a little more finesse. I tried this on the Ambex and seemed to have liked the results as I stuck with it for a while. So, this directly correlates to how I approached roasting on the Loring. I had no reason to take this approach other than it was what I knew…
What is scary and telling is that I felt so confident in this approach that I wrote training materials and spent time using them to train the roaster who was taking over for me at Tazza Mia after I had moved. I had no business teaching anyone and had so much yet to learn. Thankfully, that person is a very gifted roaster in their own right... as well as a friend. I am sharing screenshots of this document below. For clarification: Much of this is total bullshit and I don’t want anyone to accept it as fact or copy this roasting style… Fun fact, these sheets were created on 4/13/2012… About 2 months after I moved to Portland and started roasting on the Loring.
So… for the FIRST ITERATION of this boxed set, I have replicated this roast, to the best of my abilities, using my Loring s7. It doesn’t look like something I would ever recommend you do, but I will say it doesn’t taste all that bad. This brings us to the biggest secret of the specialty coffee industry. If you buy amazing coffee, then the roasted coffee will likely taste good. If you buy coffee that is of a more middle quality (for specialty) then it will be harder to hit a roast profile that works well. And when you buy lower-quality coffee… it becomes even more difficult to hit an acceptable roast profile.
What threw me off about this initially was how good the aroma of the ground coffee was. As I was smelling the dry grounds I was considering how frustrated I would be if I ended up loving this coffee and wanted to go back to roasting this way. The initial aroma was so juicy and full of peach-like aromatics and caramel. Thankfully (or sadly depending on your perspective) the flavor did not follow through with the ground aromatics.
Why could this approach work?
Well, it is possible that with a shorter development time and lower end temperature, this roasting style could be better. I am not 100% sure on that and would need to give it several tries with several different coffees… but doubtful that it would be BAD. It may work okay because the air temperatures stay relatively high. As I’ve likely talked about with a number of you before, hot air is the primary form of heat energy transfer in ALL coffee roasters. Provided that the hot air stays considerably above the bean temperature, it is unlikely that the bean temperature (BT) would ever stall. We’re likely seeing reflected here that the BT probe is higher than the actual BT, and the ROR is dropping sharply as the BT moves from its elevated state to the approximate actual surface temperature of the beans. I drew a doodle to show what I think may be occurring. In this doodle, yellow is the measured BT by the thermocouple, and blue is the theoretical actual bean surface temperature. As the power in the roaster is lowered, the skew of the BT probe reading is diminished, and it comes closer to reaching the actual bean surface temperature. Of course, this is a severe oversimplification.
All that being said… Could it work… maybe. Should you go after this as a new style of roasting… likely not.
Generally speaking, I prefer to roast faster than this… with a more predictable approach to burner controls, and while I may experiment around with this in the future for “kicks,” I wouldn’t buy stock in it.
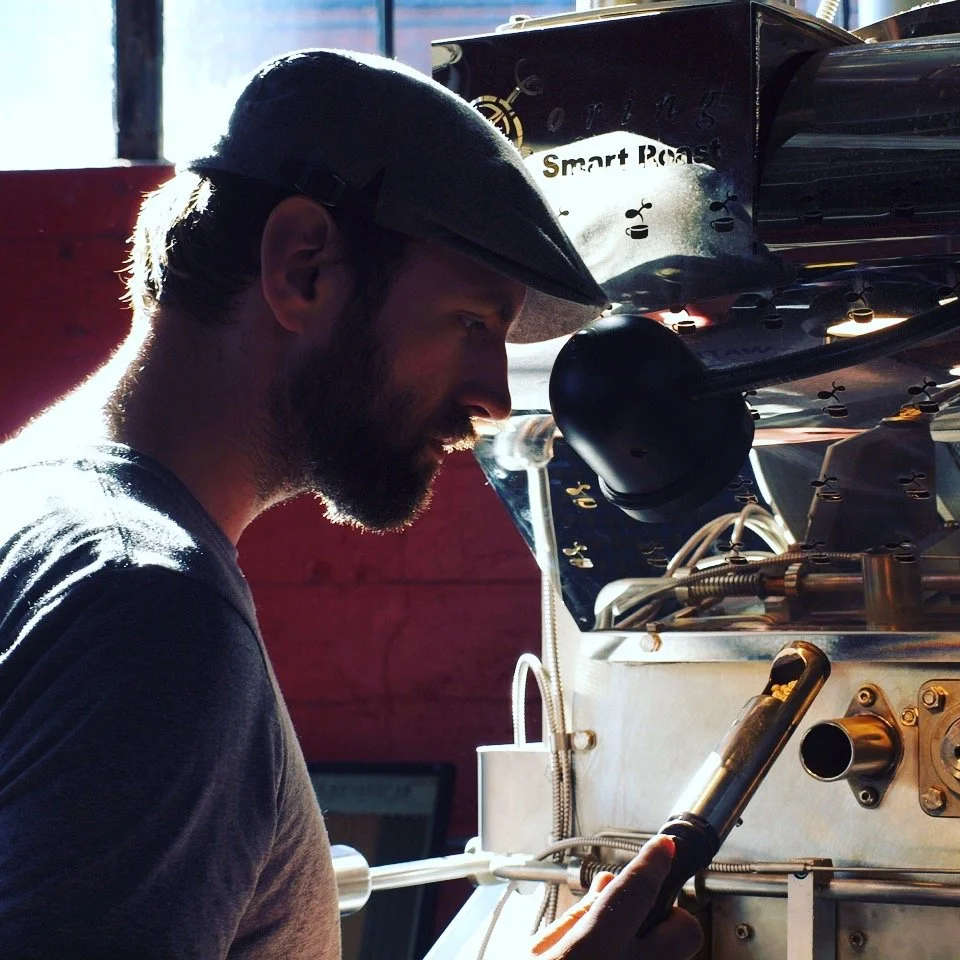
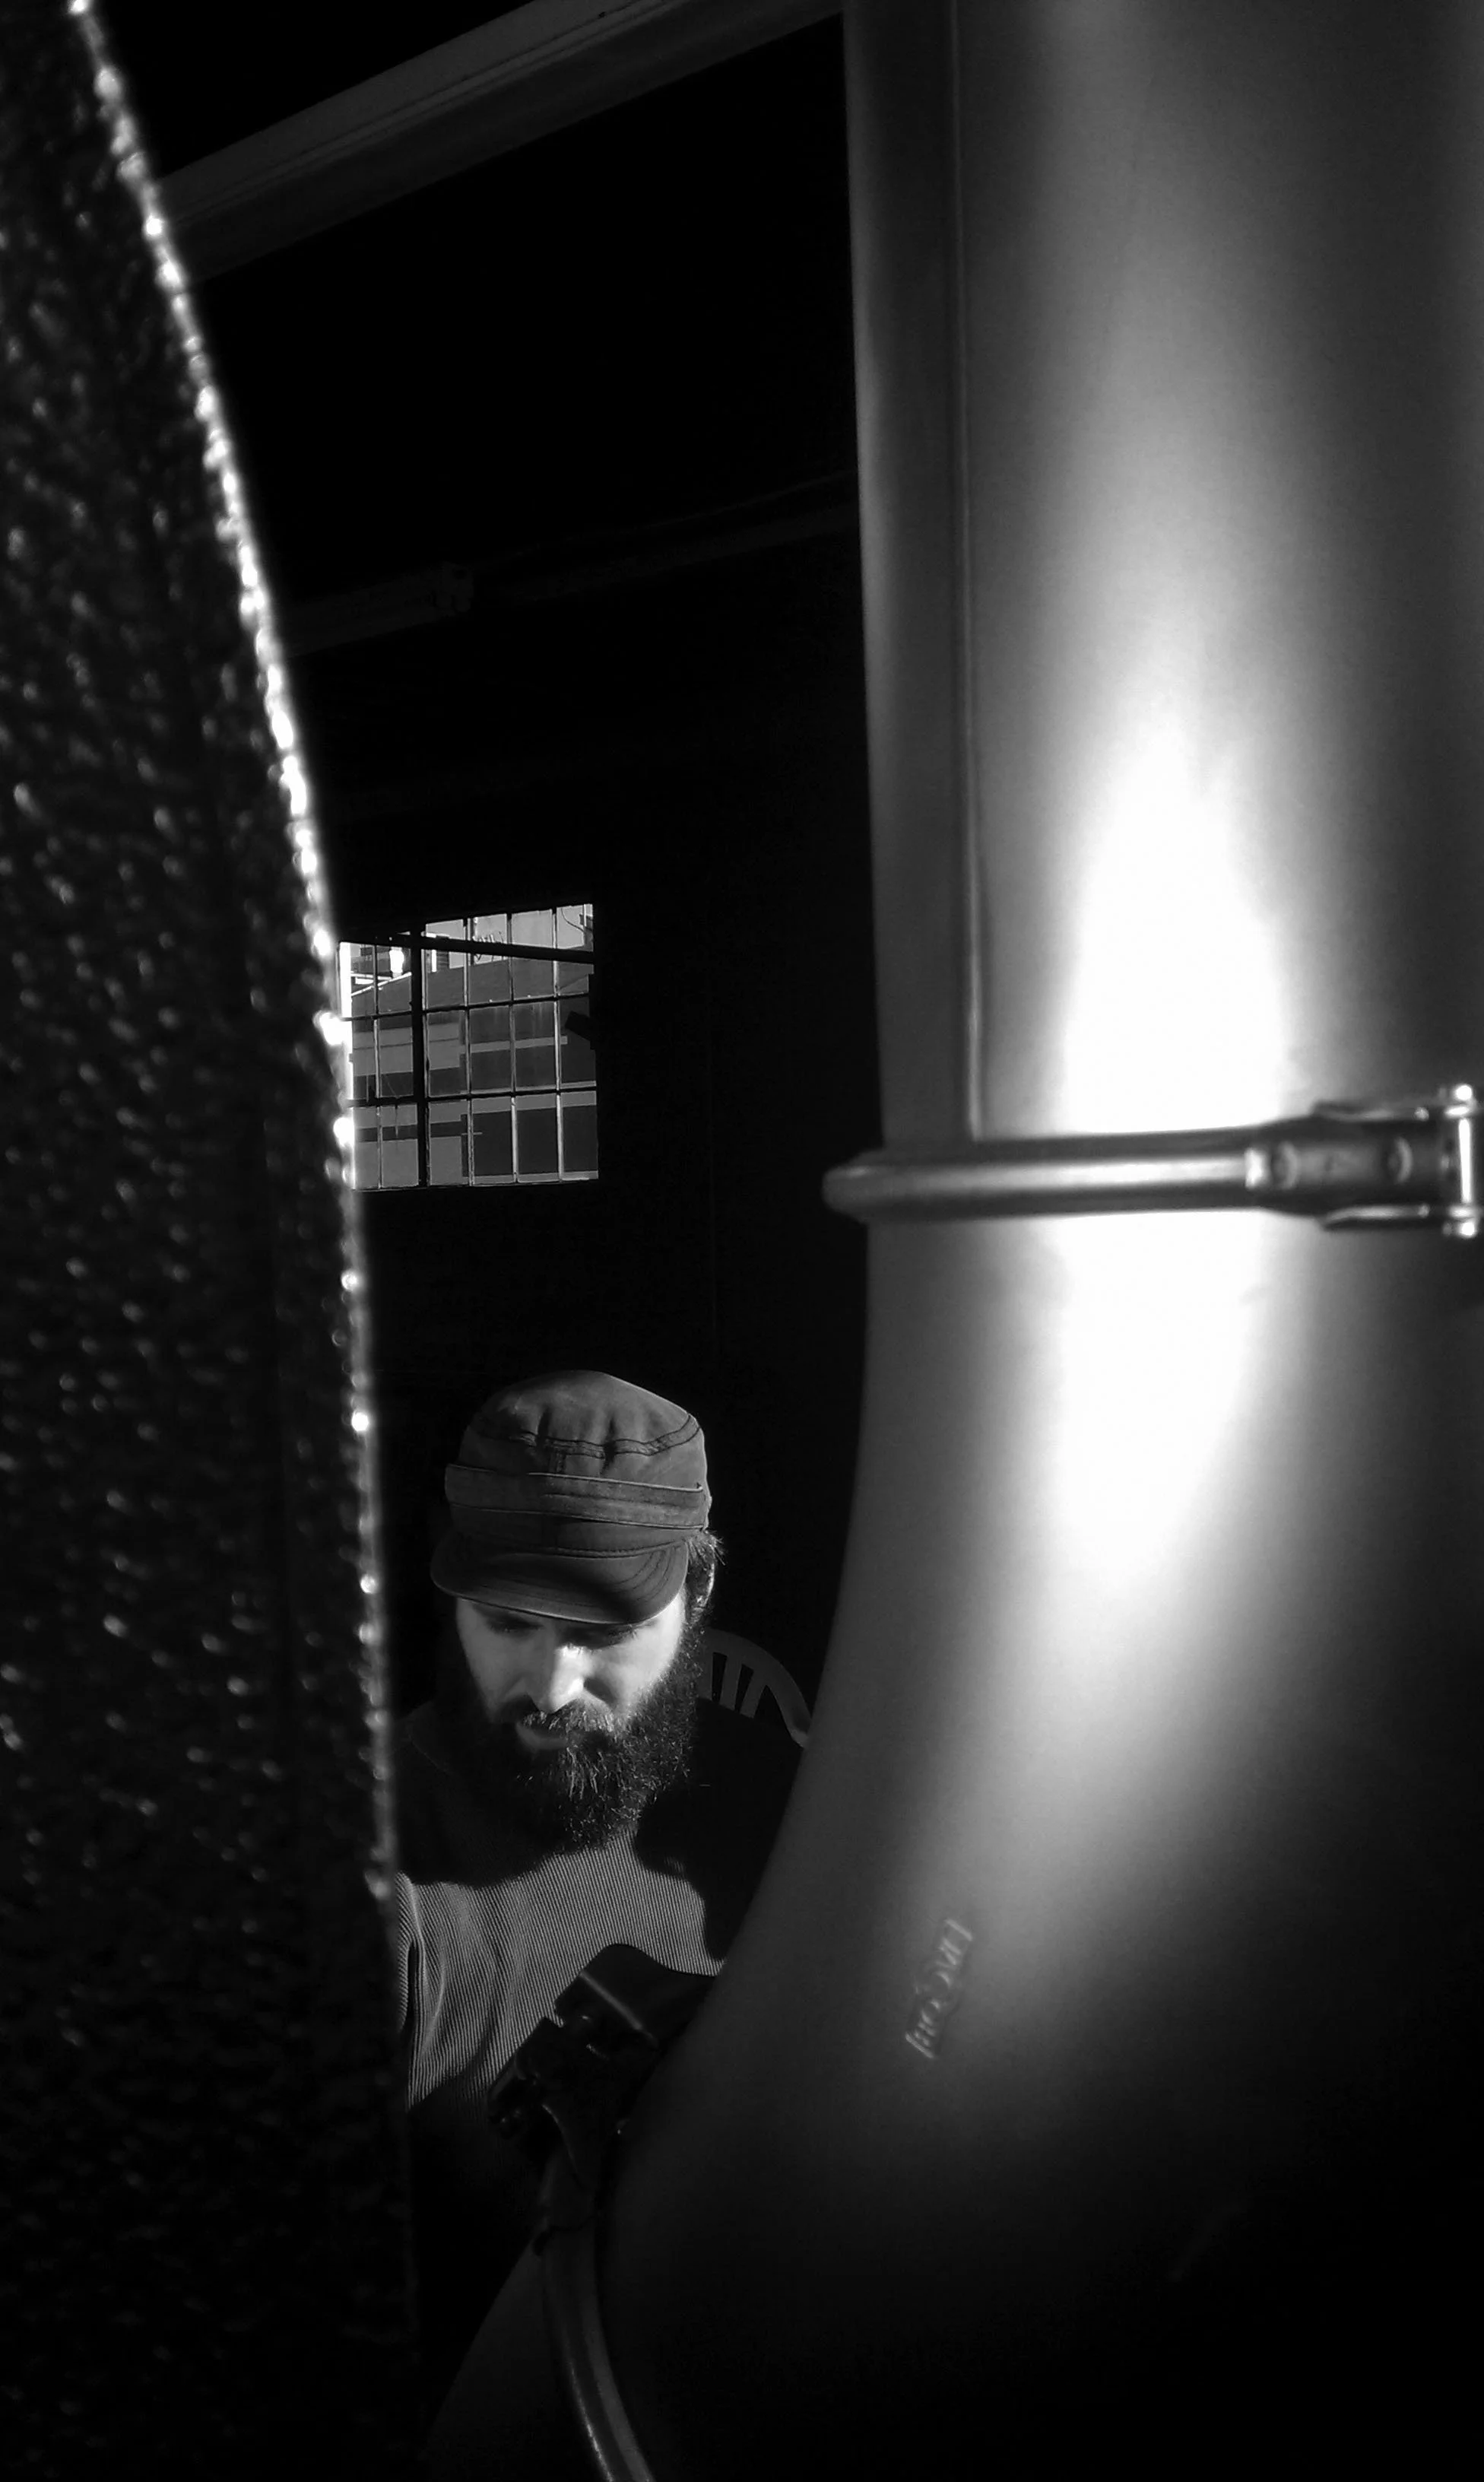
photo credit belongs to Emily McIntyre appropriately enough
How I approached roasting during the early-middle of my time on Loring Roasters!
By mid-2012, I seem to have abandoned the gas dip in the middle of the roast in favor of a more constantly declining gas approach that is more consistent with how I recommend roasting these days. My roasts were still long, and my development time was closer to 2:30 for my light-roasted coffees. Looking back through my old roast logs, I can see that the first time I hit FC times around or before 9:00 with washed Ethiopian coffees was around December 2013. With this roasting style, I am hitting color change to yellow around 5:00, FC around 9:00, and am using a 2:00 development time to a lighter roast color. I can also see from my notes that the weight loss % I was hitting was closer to 13.5-14%. If you were to ask me now what this means, I would say I was in a light-medium roast level. Back then, however, I thought I was on the cutting edge of light roast.
It’s sad looking back at the level of arrogance I had during my time as a coffee roaster. I would get frustrated and bent out of shape when we would get negative feedback about a coffee, especially if someone defined the coffee as roasty. Despite our best efforts, many of the multi-roasters that focused on light roast specialty coffees never picked up our coffees or carried us. Looking back, I can see it was with good reason! I wasn’t roasting coffee in a way that fits with the style of coffee they were presenting, and frankly… I wasn’t as good at roasting as I thought I was (not even close).
The style of roasting I was using was also nothing super special. As I grew as a coffee roaster and consultant, I had the opportunity to see how people all over the world were roasting their coffee. A prevalent thread I found was this profile (though development time and degree of roast varied). It has something to do with typical constraints on most coffee roasting systems. The more you push whole batches (or 80% batches as the old SCAA recommendation went), the more the roast gets drawn to something similar to the 5-minute yellow and 9-minute first crack. I don’t think anyone is copying; we’re all just stuck bumper bowling because of how the machines are manufactured (all machines, not just Lorings). It takes planning and effort to get outside the machine-imposed speed limits.
So… for the SECOND ITERATION of this boxed set, I have replicated this style of roasting. It’s not a perfect replication… my weight losses are a little lower than they were back in the day, and my end temperatures are also a little lower, but otherwise this is spot on what I would have expected.

Regarding the flavors, I must note the tartness and the heavy body I am getting off the coffee. While one of the tastings picked up on some savory notes (I don’t always agree with Cropster, by the way, about Savory being a negative), overall, the coffees are pleasant and drinkable. I have been drinking some of this coffee as I write and enjoy the overall balance of the coffee… the rounded peach notes and hints of caramel and molasses. I would suggest that this coffee is nowhere near living up to its potential.

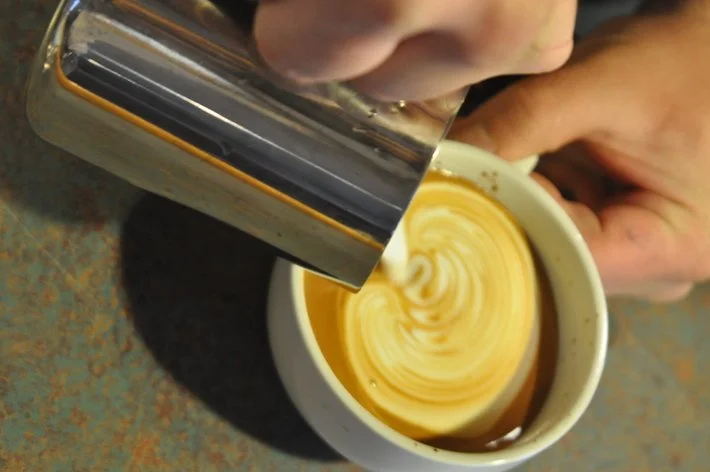
Photo credit belongs to Katjriana Hervey on IG: @katjrianajolee
How I Currently Roast
Light Roast Ethiopian Coffees
It’s now ten years after I started roasting on Loring roasting machines. I’ve gotten very comfortable with the Loring product line and even worked closely with the Loring team and engineers for some time. My roasting style has changed a lot since 2012 as well. I roast faster, with lighter, shorter development time, and more finesse. And while I am happy and confident in my current approach, I also recognize that I may look back in another ten years and think I was quite the idiot.
One significant reason my overall roast time has shortened, particularly with washed Ethiopian coffees, is that I am trying to accentuate floral notes. I hope this is something you experience firsthand, particularly in moving from the second iteration to the third. The third coffee is much more floral than the other two for me (and I welcome dissenting opinions), and I would attribute this to reaching the first crack sooner.
Another reason why I have been pushing the coffee to first sooner is to increase clarity and create more of a tea-like body. (This one is sure to cause some dissenting voices as the body in coffee is so poorly defined within our industry… he hopes there are some dissenting voices… where is everyone?) For me, the increase in clarity means a reduction of distractions from other sugar-browning notes. There are fewer caramels, for example, so the more delicate flavors can easily present themselves. This may also cause an increased perception of fruitiness or acidity, too… not sure.
When it comes to roasting, a shorter development time allows me to do two things. First of all, I can increase the intensity of the acidity. Though, in this instance, I get more of a sparkling acidity and less tart acidity. It also helps me to adapt the fruitiness because as the acidity changes the way my brain interprets the fruitiness also changes.
Finally, I am using a lower end temperature. This helps me reduce bitterness and some of the heavier flavors that can obscure some of the florals and fruity notes that I am aiming for. It can be difficult to do well as vegetable characteristics or graininess lie in wait for me if I go too far.
For the third and final iteration of this boxed set, I did my best to bring this coffee's fruity, floral, tea-like characteristics to the forefront. I focused on getting the first crack before 8 minutes (ideally 7:30 ish). This will push yellowing closer to 4:30 and create an exciting problem toward the end of the roast. As I drive the burner harder and push the roast faster, I have to keep an eye on slowing down soon enough that I can enter into the first crack with a lower RoR so I can keep my development time reasonable and my end color light enough. I tried various approaches with this coffee before finally settling on the one I sent out (the coffee I didn’t use is going into testing… more on that in the future). In these roasts, you’ll see that I charge hotter, push the coffee with more burner, and slow down as I enter the first crack. My only complaint with what I landed on is that it could probably still be a few shades lighter… but it is still delicious.
This coffee represents not only how I like to approach roasting Ethiopian Washed coffees but also how I love for them to taste. That peach/apricot flavor combined with the citrus and floral is a bit of heaven, in my opinion. I wish I could have experimented with a >100 ground Agtron and > 65 WB Agtron, but there is always a next time for that. Frankly, it may be due to high sugar content that it is still darker than my goal at such a low-end temperature, so that may be a fool’s errand.